


A flat tire can ruin the best-planned day, but handling it right prevents even bigger headaches. Modern wheels combine aluminum alloys, tight clearances, and sensitive electronics, so one careless move can scratch a rim or damage a sensor that costs hundreds to replace.
Knowing how to change a tire safely blends patience, precision, and the right habits. From lifting the car evenly to hand-tightening lugs in sequence, small details protect your investment and keep every drive smooth. Learning proper technique turns frustration into confidence and skill.
Setting Up the Work Area Before Touching the Vehicle
On level pavement, park so the car sits flat and the jack will work predictably. Engage the parking brake and place wheel chocks against the opposite wheel to stop any roll. Keep tools within reach on a clean mat, free of gravel or oil, so nothing scratches the wheel face during the change.
Place a folded shop towel under the wheel when it is removed to protect the rim and rubber from scratches and grime. About a half-turn on each lug while the car stays grounded keeps the wheel steady for the jack and limits thread damage, a simple habit before lifting that’s especially valuable when working with premium rims like Vossen Wheels, known for their precision finishes and detailed craftsmanship.
Safe Lifting and Removing the Wheel Without Scuffs or Misalignment

Slow, steady lifting looks like balancing a stack of books. Small, deliberate turns of the jack keep the car from shifting. Place the jack under the manufacturer’s lift point, not a control arm or suspension link, and stop if the vehicle leans. Watch tire-to-body clearances as the wheel comes off.
After the wheel clears the hub, finish lug removal by hand to protect threads and stud faces. Grip the rim at 3 and 9 o’clock and steer it straight out to avoid scraping sensors, calipers, or hoses. Set the wheel on a folded shop towel or soft mat and keep it upright until ready to remount.
Handling Tires With Built-In TPMS Sensors
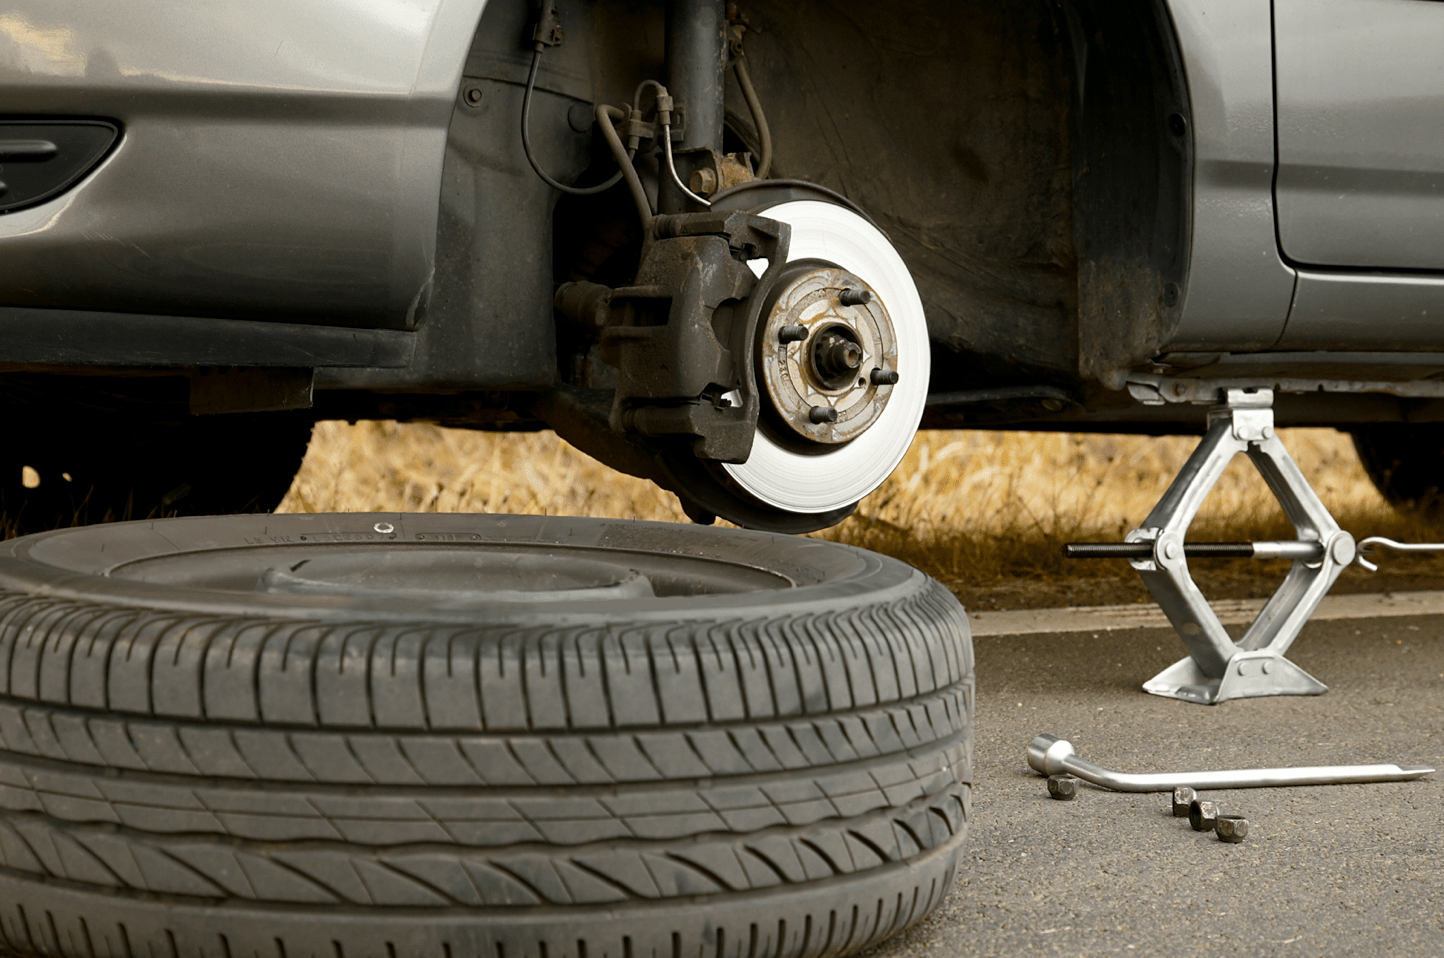
TPMS sensors rest near the valve stem and demand careful positioning during service. Rotate the stem to the 12 o’clock mark and deflate the tire completely before breaking the bead, allowing pressure to escape evenly and keeping the sensor clear of tools. A few extra seconds of attention prevent cracked seals or damaged modules.
Once the tire is removed, clean around the valve stem with mild soap and water to avoid harming rubber components.
Replace the valve core and rubber seal before seating the bead, tightening each by hand. These small, deliberate steps prevent leaks, extend sensor life, and preserve accurate tire readings over time.
Mounting the Replacement Tire and Retightening Without Damage
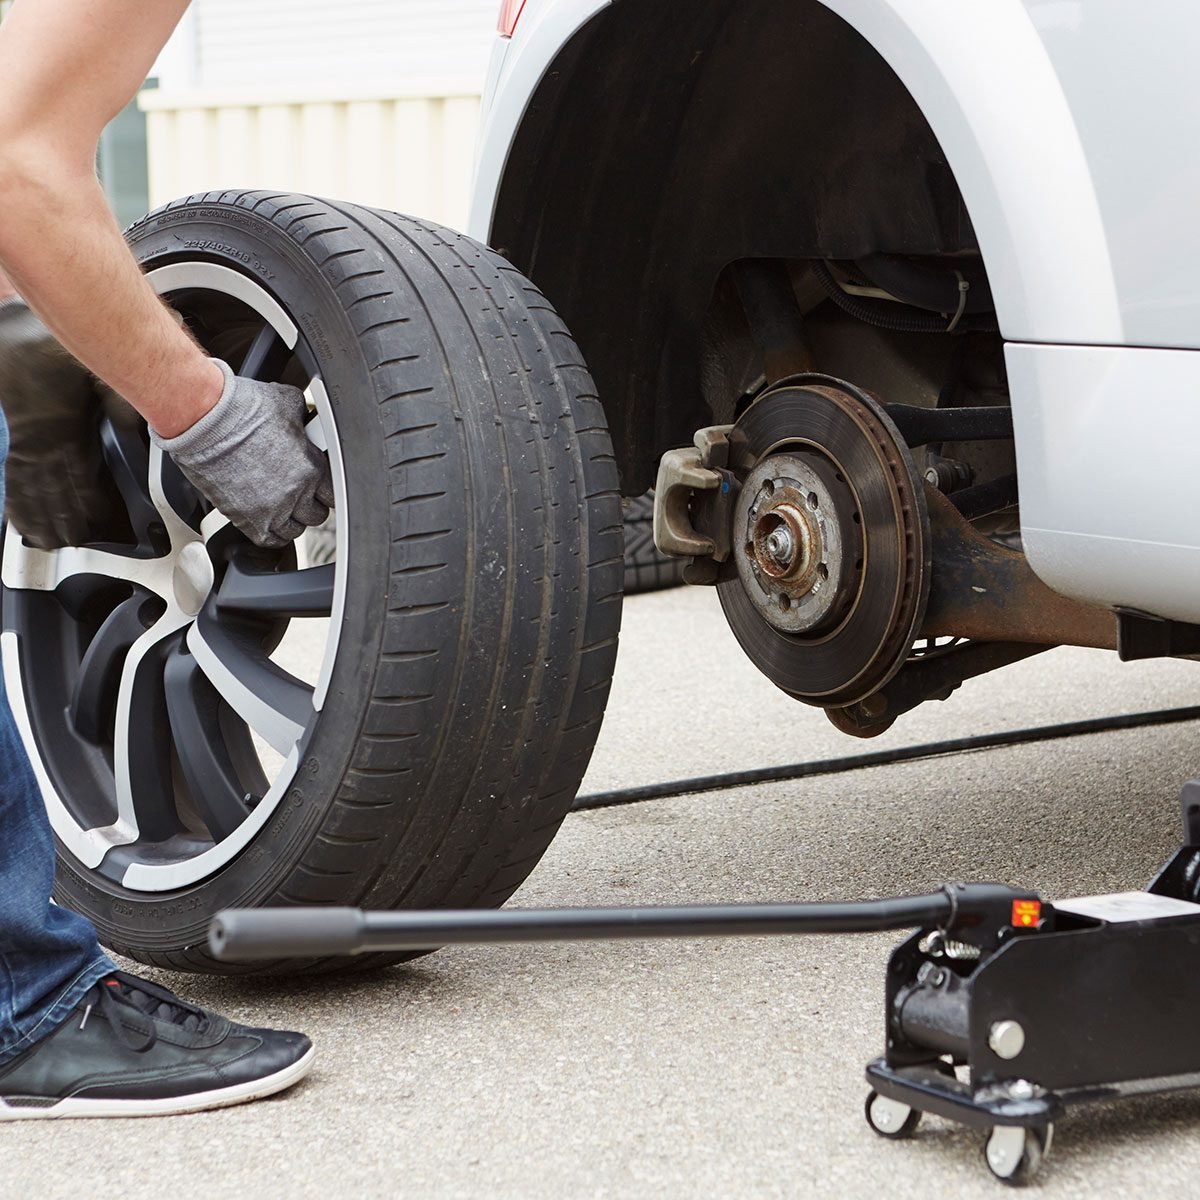
A clean hub face lets the wheel seat flush. Scrape rust and grit with a stiff brush, check studs for burrs, and wipe with a lint-free rag.
Lightly coat the hub bore and mating surface with anti-seize, wiping excess so hub-to-wheel contact stays true.
Seat the wheel square and start lugs by hand to avoid cross-threading. Tighten in a star pattern to about half the specified torque, lower the car slightly, then finish with a calibrated torque wrench while avoiding impact tools.
Two-stage torque — hand-start each lug, then use a calibrated wrench for half torque while the wheel is still off the ground and final torque after lowering — yields consistent clamping and a smoother finish.
Final Checks to Confirm Safe Fitment and Sensor Function
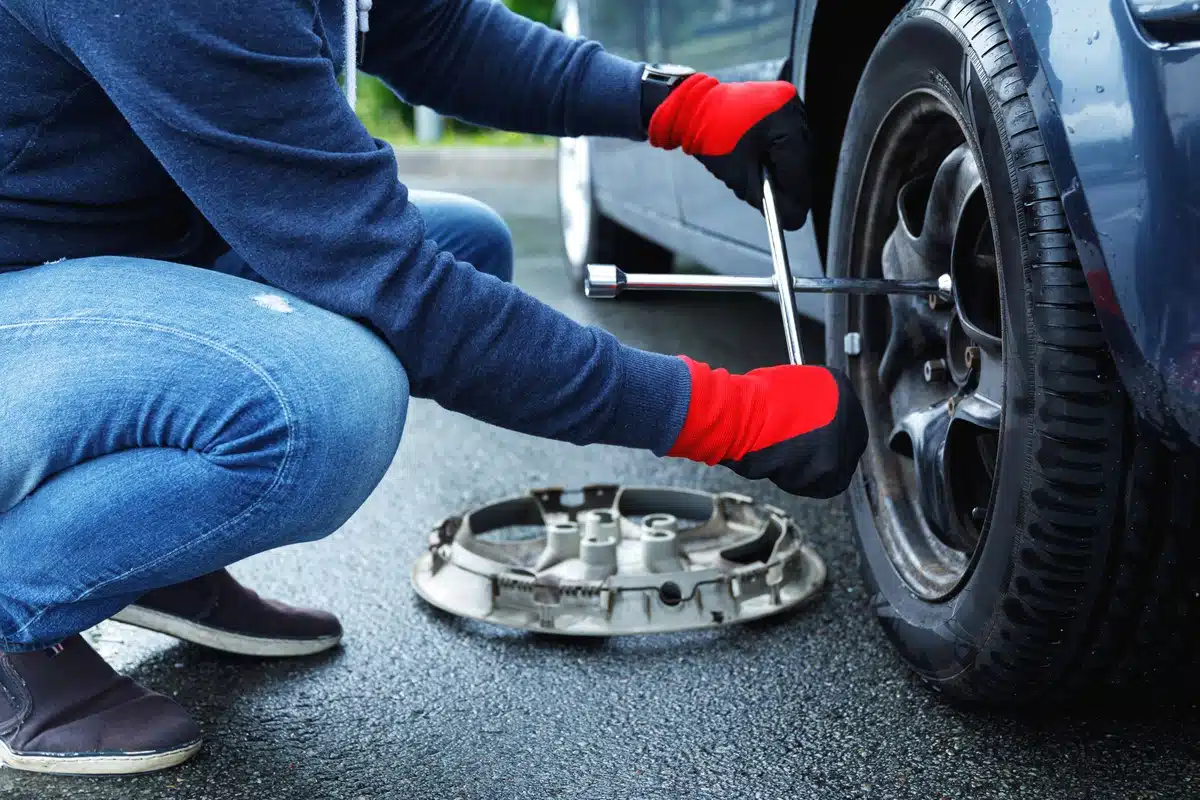
A calm garage hum as the jack lowers marks a good moment to recheck fasteners. With the car on the ground, sweep a torque wrench through the star pattern at the manufacturer’s value; lugs often settle when the hub bears load, and a second pass corrects slight seating shifts.
A short 5–10 mile drive warms tires and reveals TPMS faults, slow leaks, pull, or new vibration. If a sensor flags, inspect valve and gasket before assuming replacement.
Unusual vibration usually traces to loose lugs, wheel runout, or an unseated hub; a quick habit of recording torque and TPMS after the first drive helps catch issues before longer trips.
Changing a tire the right way protects more than wheels—it preserves precision, safety, and confidence behind every drive. Each deliberate motion, from careful valve alignment to methodical torque checking, safeguards both finish and function.
Clean contact points, fresh seals, and balanced tightening transform a simple repair into an act of craftsmanship.
After completing the change, drive several miles to confirm balance, sensor accuracy, and ride comfort. Consistent technique keeps sensors reliable, wheels flawless, and performance steady.
Practice patiently, refine your habits, and treat every wheel as an investment in skill, precision, and lasting peace of mind.