


Creating a book nook art project is both fun and rewarding. These miniature worlds inside bookshelf inserts bring life and creativity to any room. With the rise in popularity of book nook kits, assembling your own has never been easier. These kits allow anyone to craft unique, interactive decor pieces that transform shelves into captivating displays.
The key to a smooth assembly process is staying organized. By preparing adequately, hobbyists can enjoy the creative process without unnecessary stress. A thoughtful approach guarantees each piece fits perfectly, making the final reveal even more satisfying.
Thoroughly read the assembly instructions before starting
Before diving into assembling a DIY book nook kit, it’s important to read the instructions carefully. Taking the time to understand the steps can prevent mistakes. This helps in organizing the process and reduces the chance of errors.
Studying the instructions can also reveal any special tools or extra items needed. This preparation makes the assembly smoother and more enjoyable. Knowing what’s ahead helps in managing the task efficiently.
It’s helpful to lay out all the parts in order before starting. This makes it easier to find what you need as you proceed with each step. By organizing everything in advance, the time spent assembling the kit can be more productive.

Label Each Piece After Punching Them Out for Easy Identification
Labeling each piece can make the process much smoother when assembling a DIY book nook kit. As you punch out the pieces, writing their numbers or names on the back is a good idea. This step can prevent confusion later on.
Using a pencil for marking allows for easy changes if needed. If any adjustments are required, simply erase and update the labels. Making these labels clear can help in identifying each piece quickly during assembly, saving time and effort.
A well-labeled set can be the difference between a smooth build and a frustrating experience. By having all parts clearly identified, it becomes easier to follow instructions without losing track of where everything fits. Keeping this system in place will lead to a more enjoyable crafting session, helping achieve a neat and organized book nook.
Test any LED bulbs to guarantee they work before final assembly
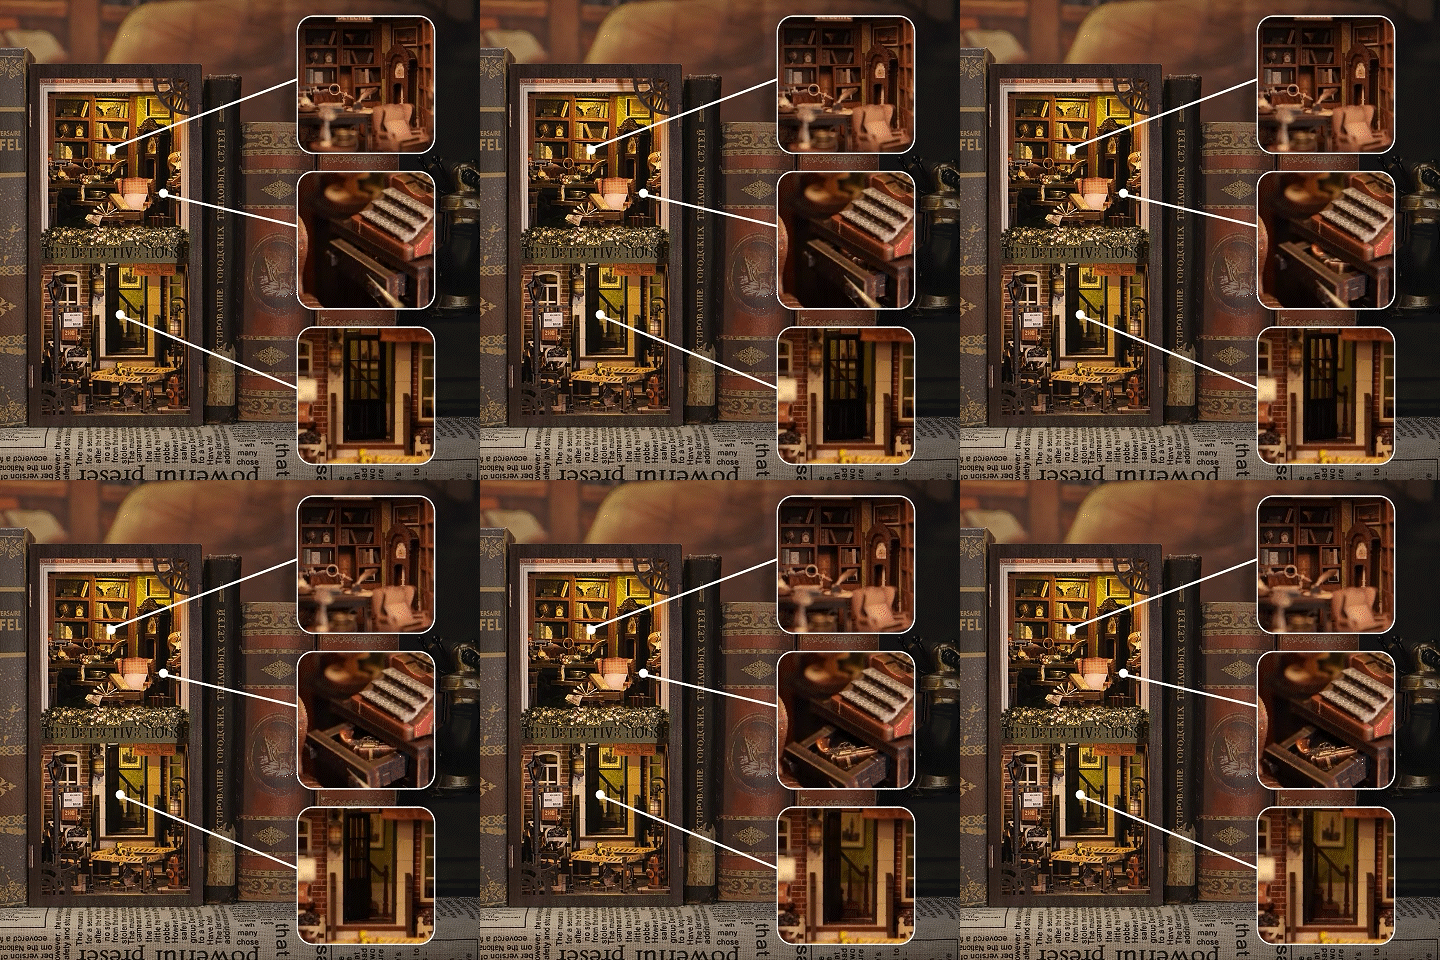
Before putting together a book nook kit, it is important to test any LED bulbs. This step saves time and avoids future headaches by making sure every light functions properly. Checking them beforehand helps catch any non-working bulbs early.
Use a simple power source to test each LED light. This can be as easy as attaching the bulbs to a battery pack. Guarantee each bulb lights up as expected. If any do not work, replace them before moving forward with your project.
Testing the bulbs is also a good chance to familiarize yourself with the wiring and connections. Know how each part fits together for a smoother assembly later. This way, completing the entire book nook becomes more manageable and less likely to have unexpected issues.
Use Sandpaper to Smooth Edges of Wooden Pieces for a Snug Fit
Smoothing the edges of wooden pieces with sandpaper helps create a clean look. Rough or splintered edges can make assembly difficult. Using finer sandpaper can make these edges look polished.
Sandpaper comes in varying grits, each serving a unique purpose. Start with a coarse grit to remove major imperfections. Then, switch to a finer grit to refine the surface. This makes the pieces fit together better and gives a more neat result.
For small or detailed areas, consider using a nail file or a small piece of sandpaper. This will help you reach tight spots that larger tools can’t handle. It’s a simple way to make sure all edges are smooth and ready for assembly.
Using sandpaper not only makes the pieces easier to handle but it also reduces the risk of splinters. A smooth finish guarantees the finished project looks good and feels secure.
Organize all pieces and tools before beginning assembly
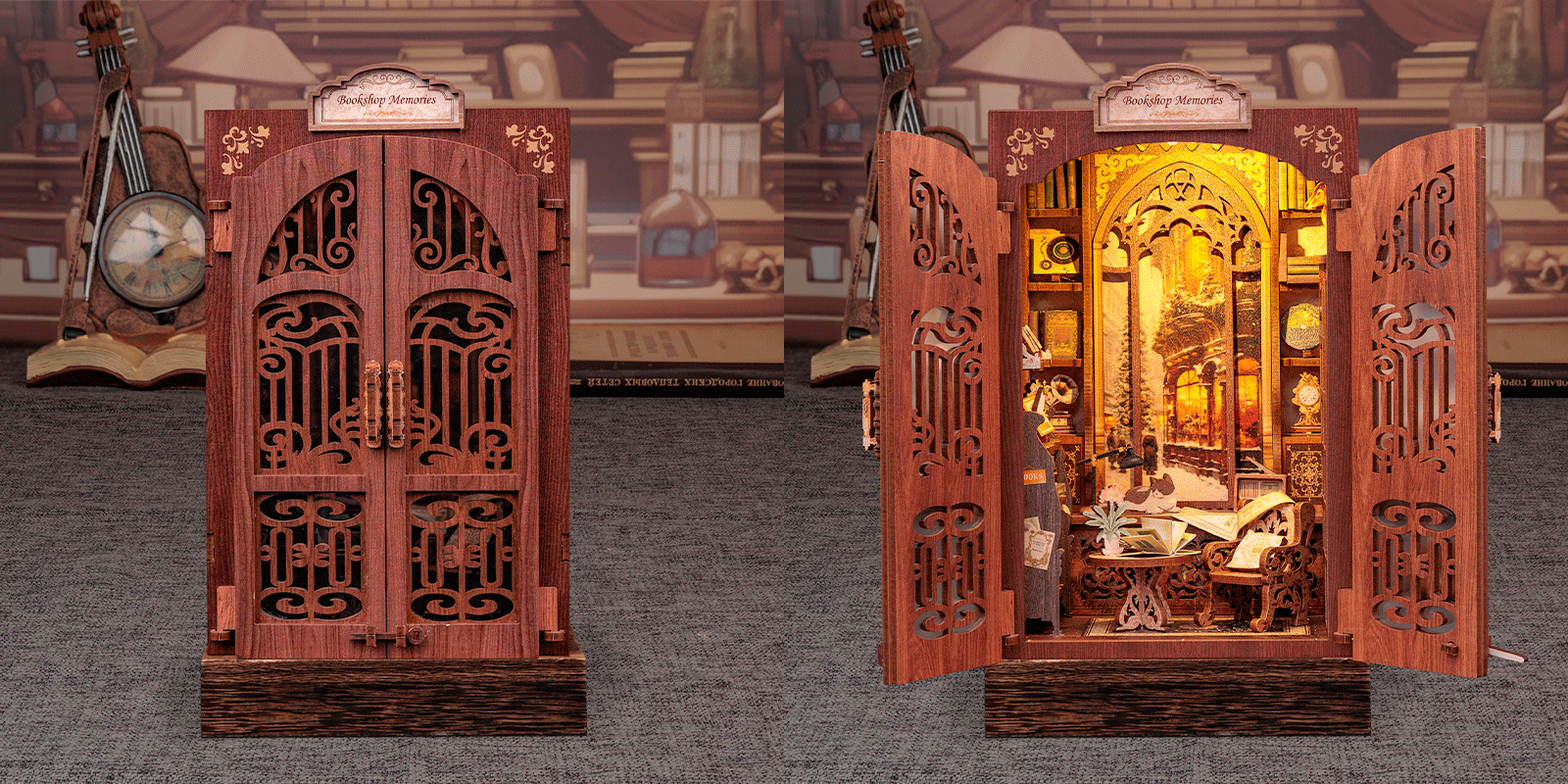
Before starting the assembly of a DIY book nook kit, it’s important to sort out everything you will need. Lay out the main kit parts like walls, floors, and decorative elements. This helps to see if anything is missing before you start.
Next, place small items such as lights, signs, or plants in separate containers or bags. Using an organizer, as suggested in various guides, can be helpful for storing different components like doors and lights.
Gather all necessary tools before beginning. This may include a ruler, glue, screwdriver, or tweezers. Keeping them within reach will save time and help avoid interruptions during the assembly process.
A clean and tidy workspace will make the process more enjoyable. A flat surface is ideal for guaranteeing each piece is put together correctly. Starting with a clear area will also help prevent losing any small parts along the way.
Conclusion
Creating a DIY book nook can be a rewarding experience. Staying organized is key to assembling it efficiently.
Begin by reviewing the instructions carefully. This helps in understanding the assembly process and identifying components.
Sorting materials into categories makes the process smoother. Consider using organizers like folders or boxes to keep small pieces tidy and easy to find.
Adding personal touches improves your book nook. Customizing with unique decorations can give it a special flair.
With organization and a personal touch, you can create a book nook that is both functional and visually appealing.


