

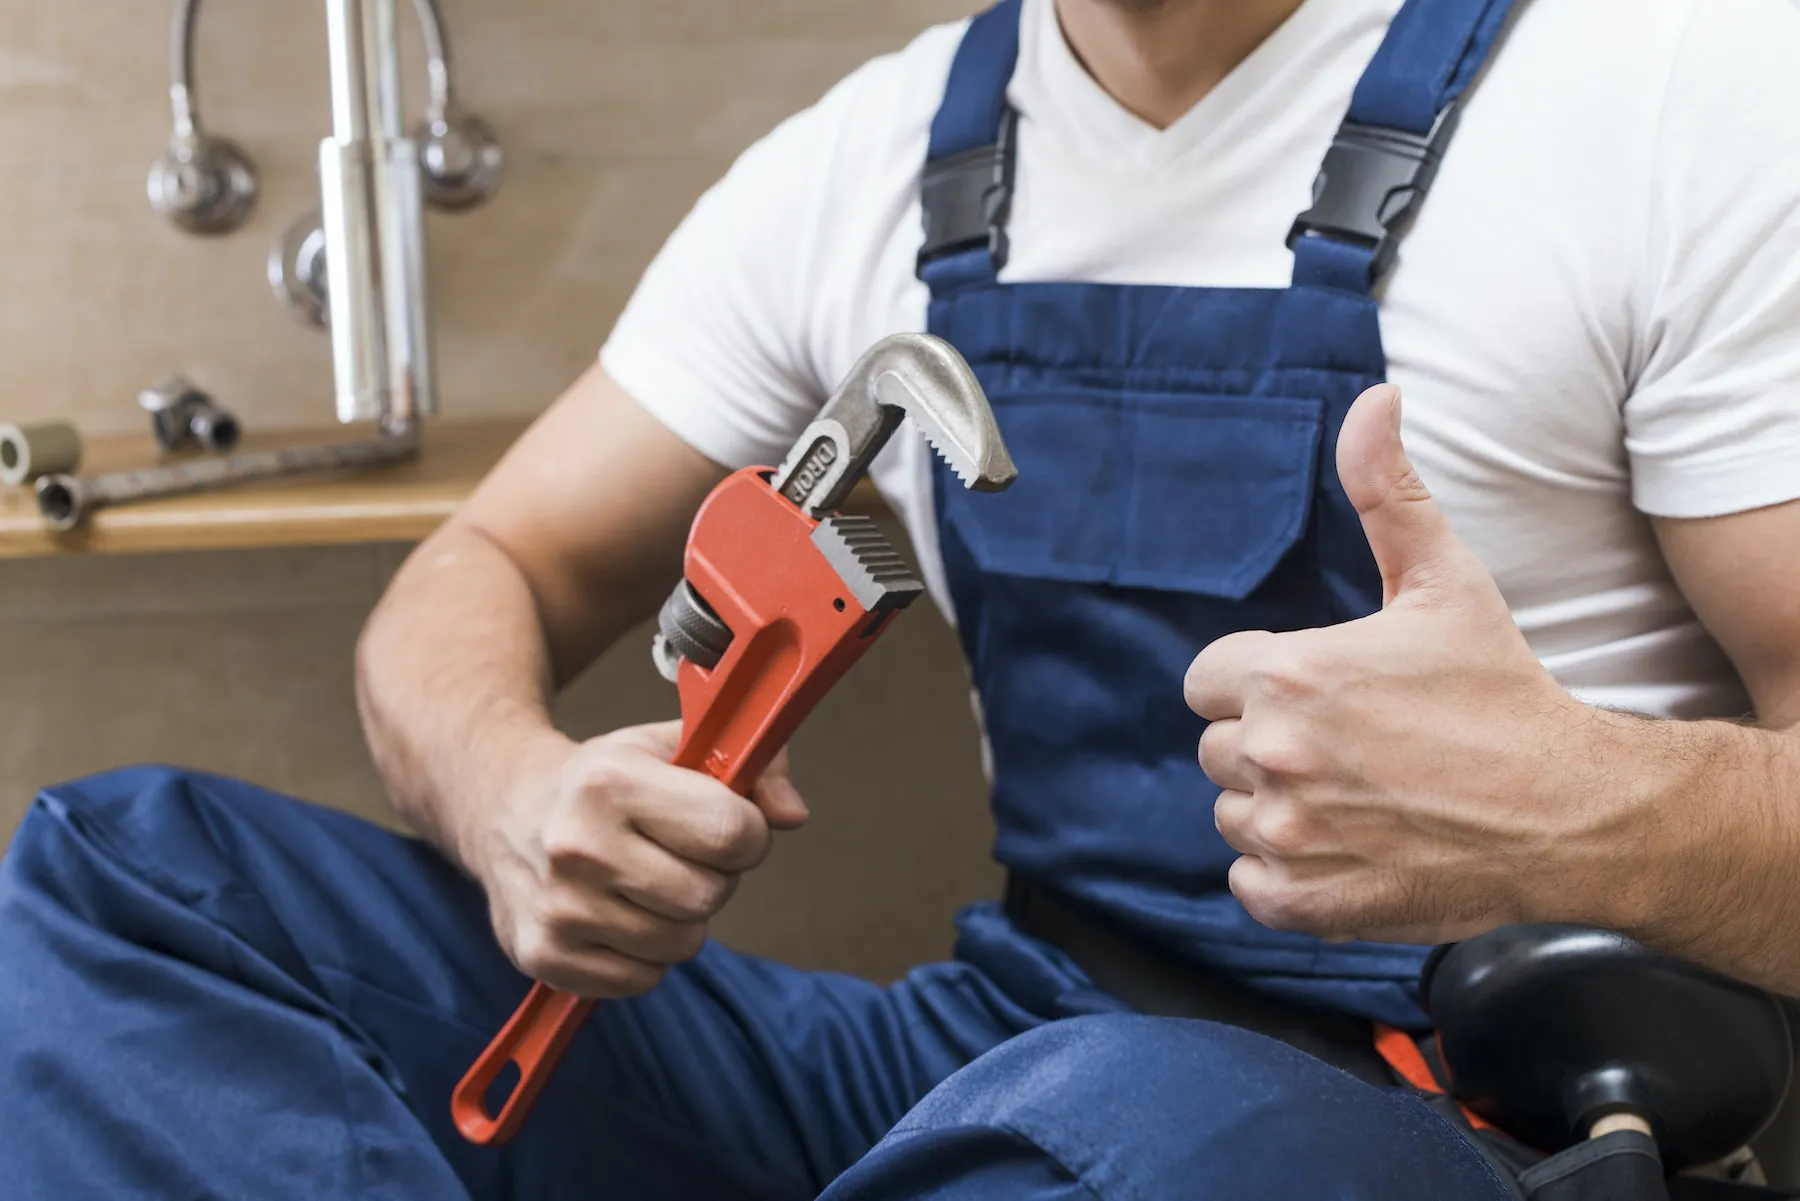
Weekend DIY projects can be incredibly satisfying. Whether you are replacing a shut-off valve, updating a bathroom fixture, adding a new supply line, or doing a small repair under the sink, a well-planned plumbing project can save money and give you a better understanding of your home. But plumbing is also one of those areas where a small missing part can turn a simple Saturday task into multiple emergency trips to the hardware store.
Before you start cutting, tightening, removing, or replacing anything, it is worth taking time to prepare. A simple plumbing prep checklist helps you avoid delays, reduce mistakes, and keep the project moving smoothly from start to finish.
1. Understand the Project Before You Start
The first step is to clearly define what you are trying to do. Are you replacing an old fitting? Installing a new fixture? Repairing a leak? Extending a line? Each type of project may require different tools, fittings, valves, adapters, sealants, or pipe materials.
Before buying anything, look closely at the existing setup. Take photos from different angles, especially around connection points. This makes it easier to compare old and new parts and helps you avoid guessing when you are shopping.
It is also helpful to write down what you see: pipe size, pipe material, connection type, valve style, and the number of fittings involved. A few minutes of checking can prevent a lot of confusion later.
2. Confirm All Parts Before the Weekend
One of the most common DIY plumbing mistakes is assuming that one fitting or valve will work for every setup. In reality, small details matter. A 1/2-inch connection is not always the same type of 1/2-inch connection. Some parts are threaded, some are compression, some are sweat, some are press, and some are designed for PEX crimp, clamp, or expansion systems.
Before the project starts, lay out all the parts you plan to use. Check each product against the old part or your project plan. Confirm sizes, connection types, material compatibility, and quantity.
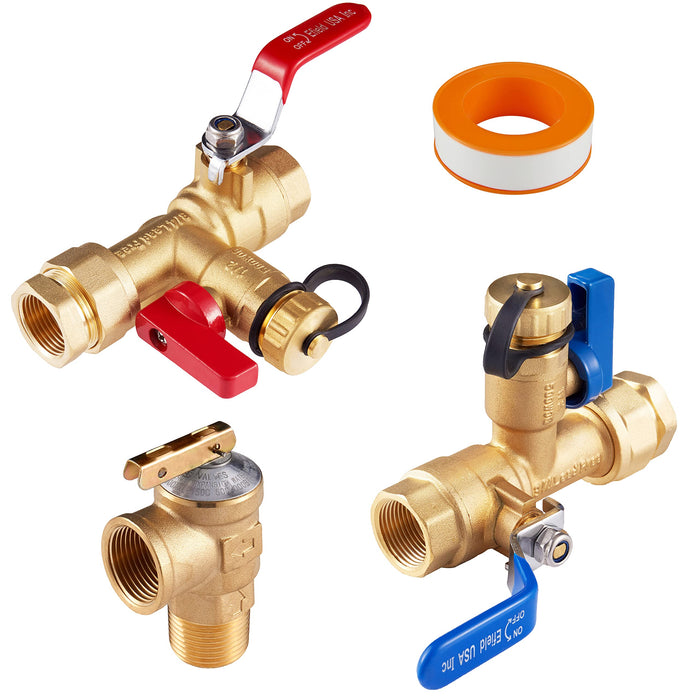
If you are ordering plumbing supplies online, try to do it early rather than waiting until the last minute. Stores like PlumbingSell make it easier to compare valves, fittings, hoses, outlet boxes, PEX parts, and other plumbing supplies in one place, which can help you prepare before the weekend begins.
3. Check Your Tools
Even a simple plumbing project can become frustrating if you are missing the right tool. Before starting, make sure your tools match the job.
For many DIY plumbing tasks, you may need basic items such as an adjustable wrench, pipe cutter, tape measure, utility knife, pliers, bucket, towels, flashlight, plumber’s tape, and gloves. Depending on the project, you may also need a crimp tool, clamp tool, press tool, deburring tool, tubing cutter, or specific wrench size.
Do not wait until the water is turned off to discover that you are missing a key tool. Place everything nearby before you begin. This keeps the work area organized and helps you avoid rushing.
4. Turn Off the Water and Test the Line
Before removing any valve, supply line, fitting, or fixture, identify the correct shut-off point. For small jobs, this might be a local shut-off valve under the sink or behind a toilet. For larger projects, you may need to shut off water to the entire house.
After turning off the water, open the faucet or fixture connected to the line to relieve pressure and drain remaining water. Keep a bucket and towel nearby, because water may still sit inside the pipe or hose.
Never assume the line is completely dry just because the main valve is off. Testing first helps prevent messy surprises.
5. Inspect Existing Connections Carefully
Old plumbing connections can be tricky. Some may be corroded, overtightened, loose, or difficult to remove. Before applying force, inspect the condition of the pipe, fitting, and valve.
Look for signs of rust, mineral buildup, cracks, worn threads, old sealant, or damaged washers. If something looks fragile, take extra care. Forcing an old connection can create a bigger repair than the one you planned.
This is also the right time to compare old and new parts again. Make sure the new connection style matches the existing system. For example, do not assume a threaded valve can replace a compression valve without the correct adapter or connection plan.
6. Measure Twice Before Cutting or Installing
The old DIY saying “measure twice, cut once” is especially important in plumbing. Pipes, hoses, and fittings need enough length for proper alignment, but not so much that they bend, twist, or put stress on the connection.
Measure the space carefully before cutting pipe or tubing. If you are replacing a hose or connector, check both the connection size and the required length. If the part is too short, it may pull. If it is too long, it may kink or sit awkwardly.
Good measurements also help you order the right supplies in advance, especially if your project involves multiple fittings or repeated connections.
7. Keep Backup Supplies Nearby
Even with planning, small issues happen. A washer may be worn out. A fitting may not match. A thread may need fresh tape. A connector may need to be replaced instead of reused.
Keeping a few common backup supplies nearby can save the project. Depending on your job, this might include extra washers, plumber’s tape, spare fittings, additional clamps or rings, replacement supply lines, or an extra shut-off valve.
The goal is not to overbuy, but to avoid stopping the whole project because of one small missing item. Planning ahead is usually cheaper and less stressful than making an emergency hardware store run halfway through the job.

8. Test Slowly After Installation
Once everything is connected, turn the water back on slowly. Do not rush this step. Watch each connection carefully as pressure returns to the line.
Check for drips, moisture, or movement around the fitting. Run water through the fixture and inspect again. Use a dry paper towel around the connection to spot small leaks that may not be obvious at first.
If you see a leak, turn the water off and fix the issue before continuing. Small leaks are easier to correct immediately than after the cabinet, wall, or fixture area is closed up.
Final Thoughts
A successful weekend DIY plumbing project depends less on speed and more on preparation. When you confirm your parts, check your tools, turn off the water properly, inspect old connections, and measure carefully, the entire project becomes smoother.
Before starting your next home plumbing update, take time to plan the job and gather the right supplies. A reliable online plumbing source such as PlumbingSell can help DIY homeowners find the parts they need before the weekend begins, so the project stays focused on fixing and improving the home—not running back and forth for missing pieces.